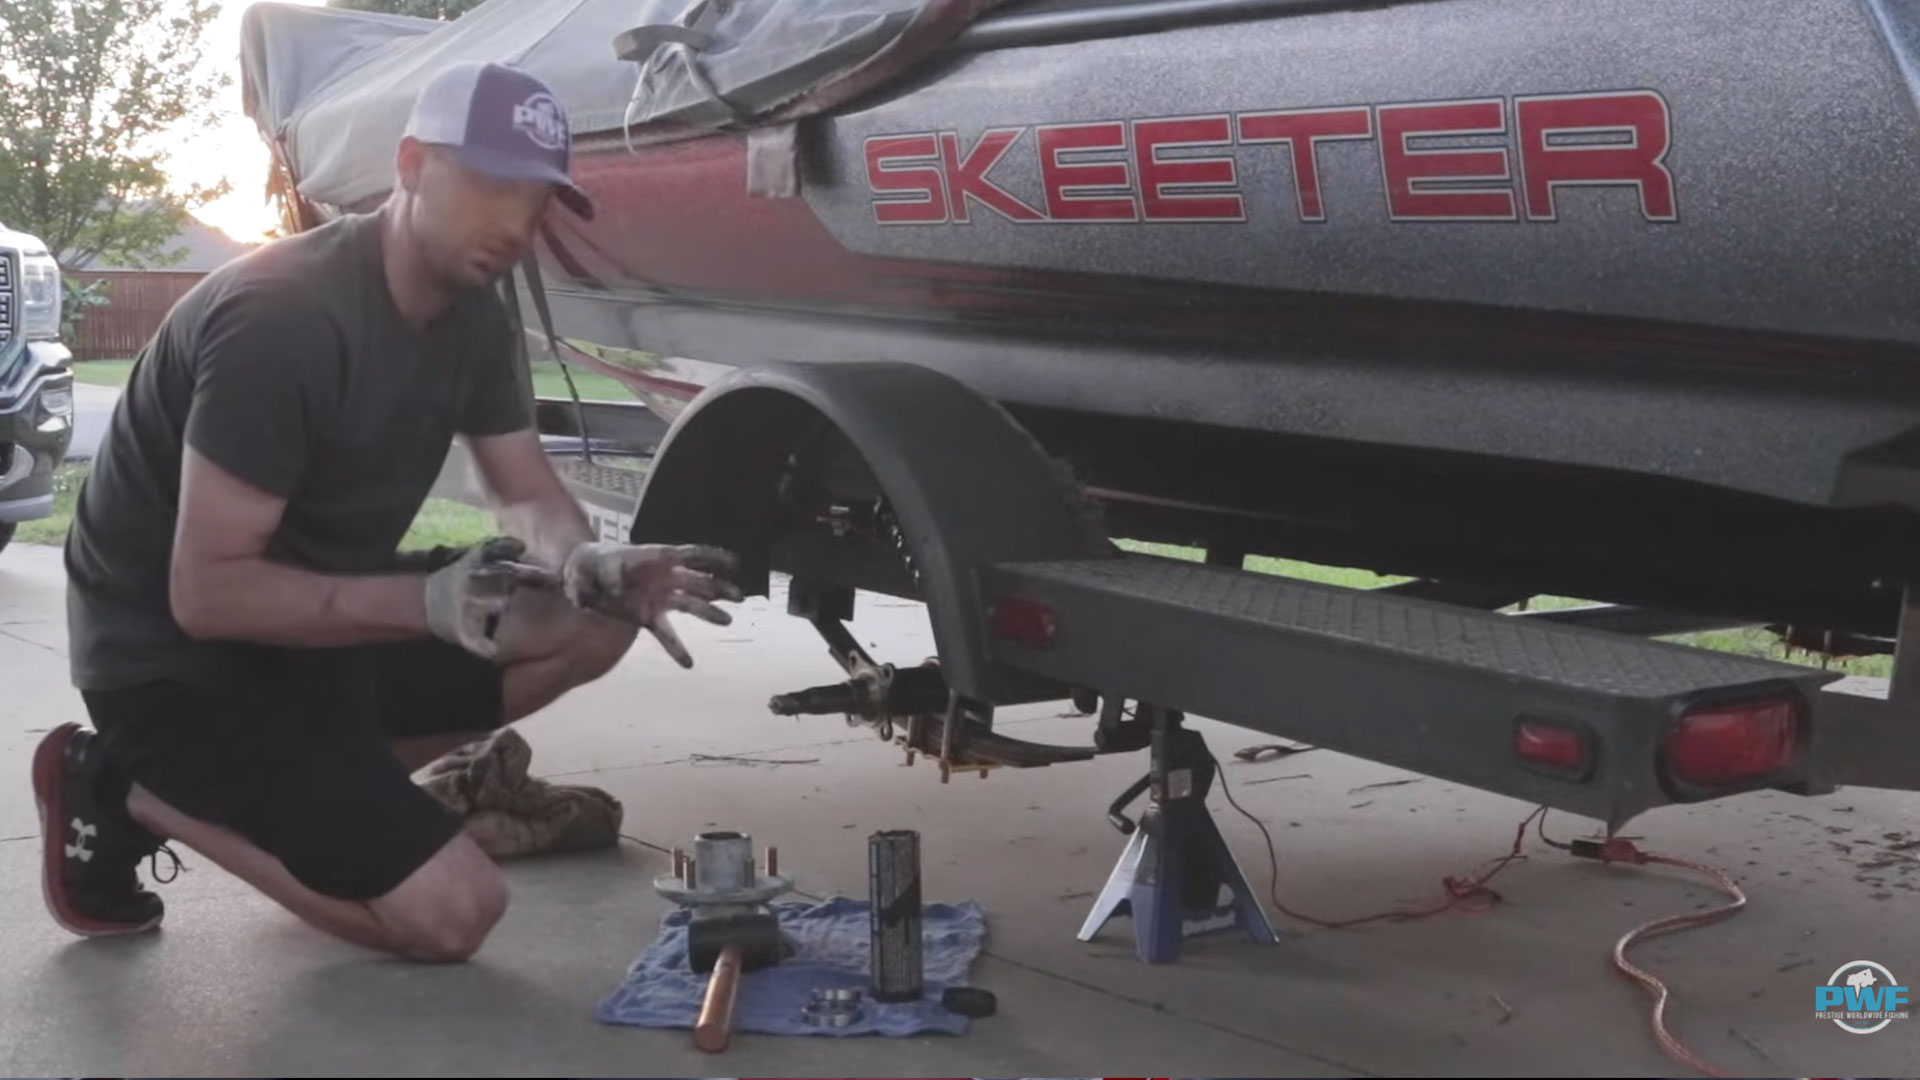
Neglected trailer bearings can cost you a wheel — literally. Brandon walks through exactly how to inspect, pack, and reinstall trailer bearings so you're not stranded on the side of the road headed to your next tournament.
If you own a boat trailer, trailer bearing maintenance isn't optional — it's just a matter of when, not if. Brandon learned this the hard way. A previous owner who neglected the bearings on his trailer scarred both spindles, one so badly the wheel fell off completely. He ended up replacing the entire axle. A little grease and an annual inspection could have prevented all of it. Here's how to do it right.
Why Bearings Fail — and How to Catch It Early
Two things destroy trailer bearings faster than anything else: lack of grease and water contamination. Every time you back the trailer into a lake, those hot bearings hit cold water. That thermal shock pulls moisture in past the seals, and moisture mixed with grease is a recipe for rust and bearing failure. Even small nicks or scarring on the spindle itself creates friction, burns through grease, and accelerates wear.
The easiest inspection you can do takes about five seconds: after you've launched the boat and the trailer is empty, kick the tire. A small amount of play is normal. A lot of wobble means the bearing is bad and not seated correctly. Make a habit of checking every spring before tournament season kicks off and any time before a long road trip.
What You'll Need
The parts list is minimal: a new hub (with races already seated), inner and outer bearings, a rear seal, a washer, a castle nut, and a cotter pin. For tools, you just need a wrench, a rubber mallet, and a grease gun. Most importantly, get a quality all-purpose bearing grease and a pair of gloves — this is a messy job.
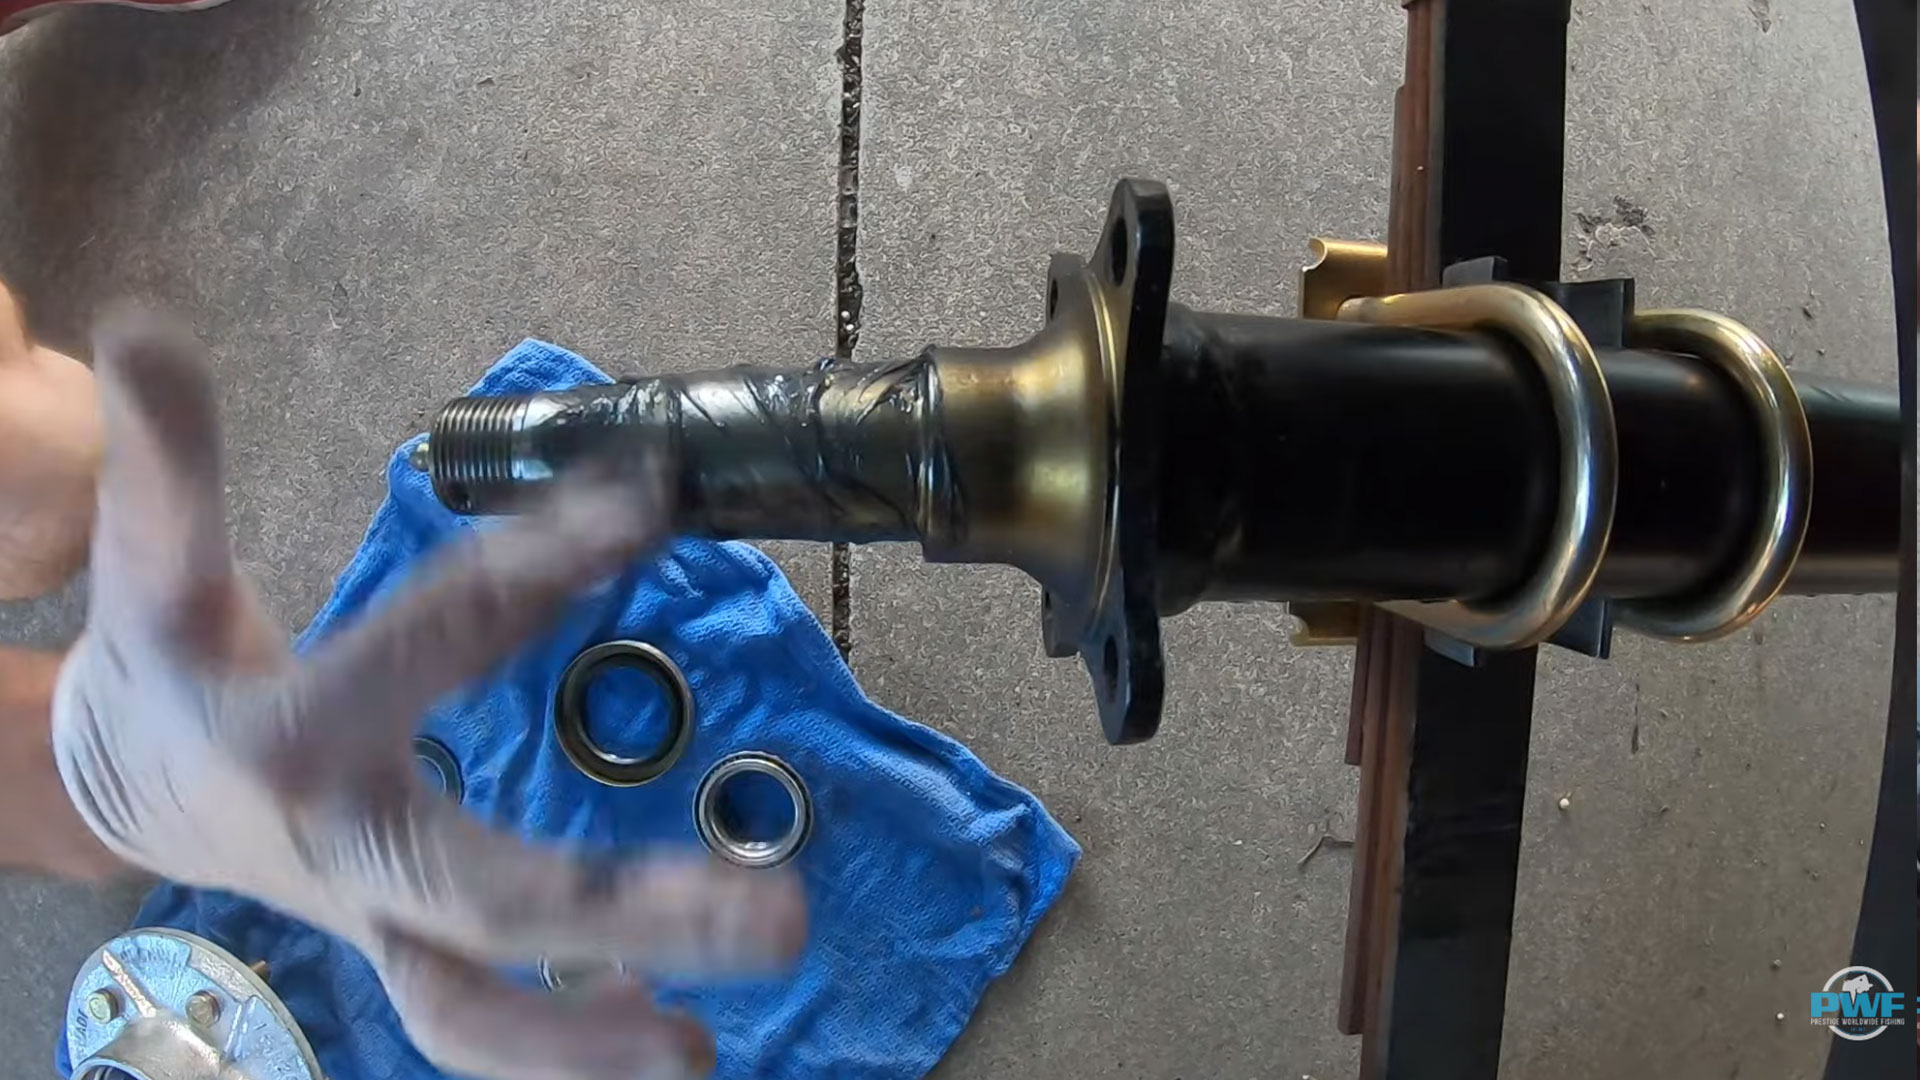
Step 1: Grease the Spindle
Before anything goes on the hub, clean off the spindle and coat it thoroughly with grease. This is the foundation of the whole assembly. No friction points, no heat buildup — and heat is what kills bearings. Get it well lubed before you start stacking parts on it.
Step 2: Pack the Inner Bearing
Take a good glob of grease in your palm and press the bearing into it with the open side down, spinning and pushing until grease is forced all the way through the rollers. You want it completely packed — it's okay if it's messy. After packing, put a light smear of grease in the race itself before dropping the bearing in. Follow that with a finger pack from the top to make sure everything is fully seated and coated.
Step 3: Install the Rear Seal
The seal goes in face-down over the packed inner bearing. Set it in place and smack it down firmly with your palm until it's fully seated. This seal keeps grease in and water out — it's a critical piece.
Step 4: Pack the Outer Bearing
Same process as the inner bearing: grease in the palm, open side down, pack it through completely, flip it and pack the other side. Add a light smear to the smaller outer race, drop the bearing in, and clean up the top with a finger swipe to make sure it's fully coated.
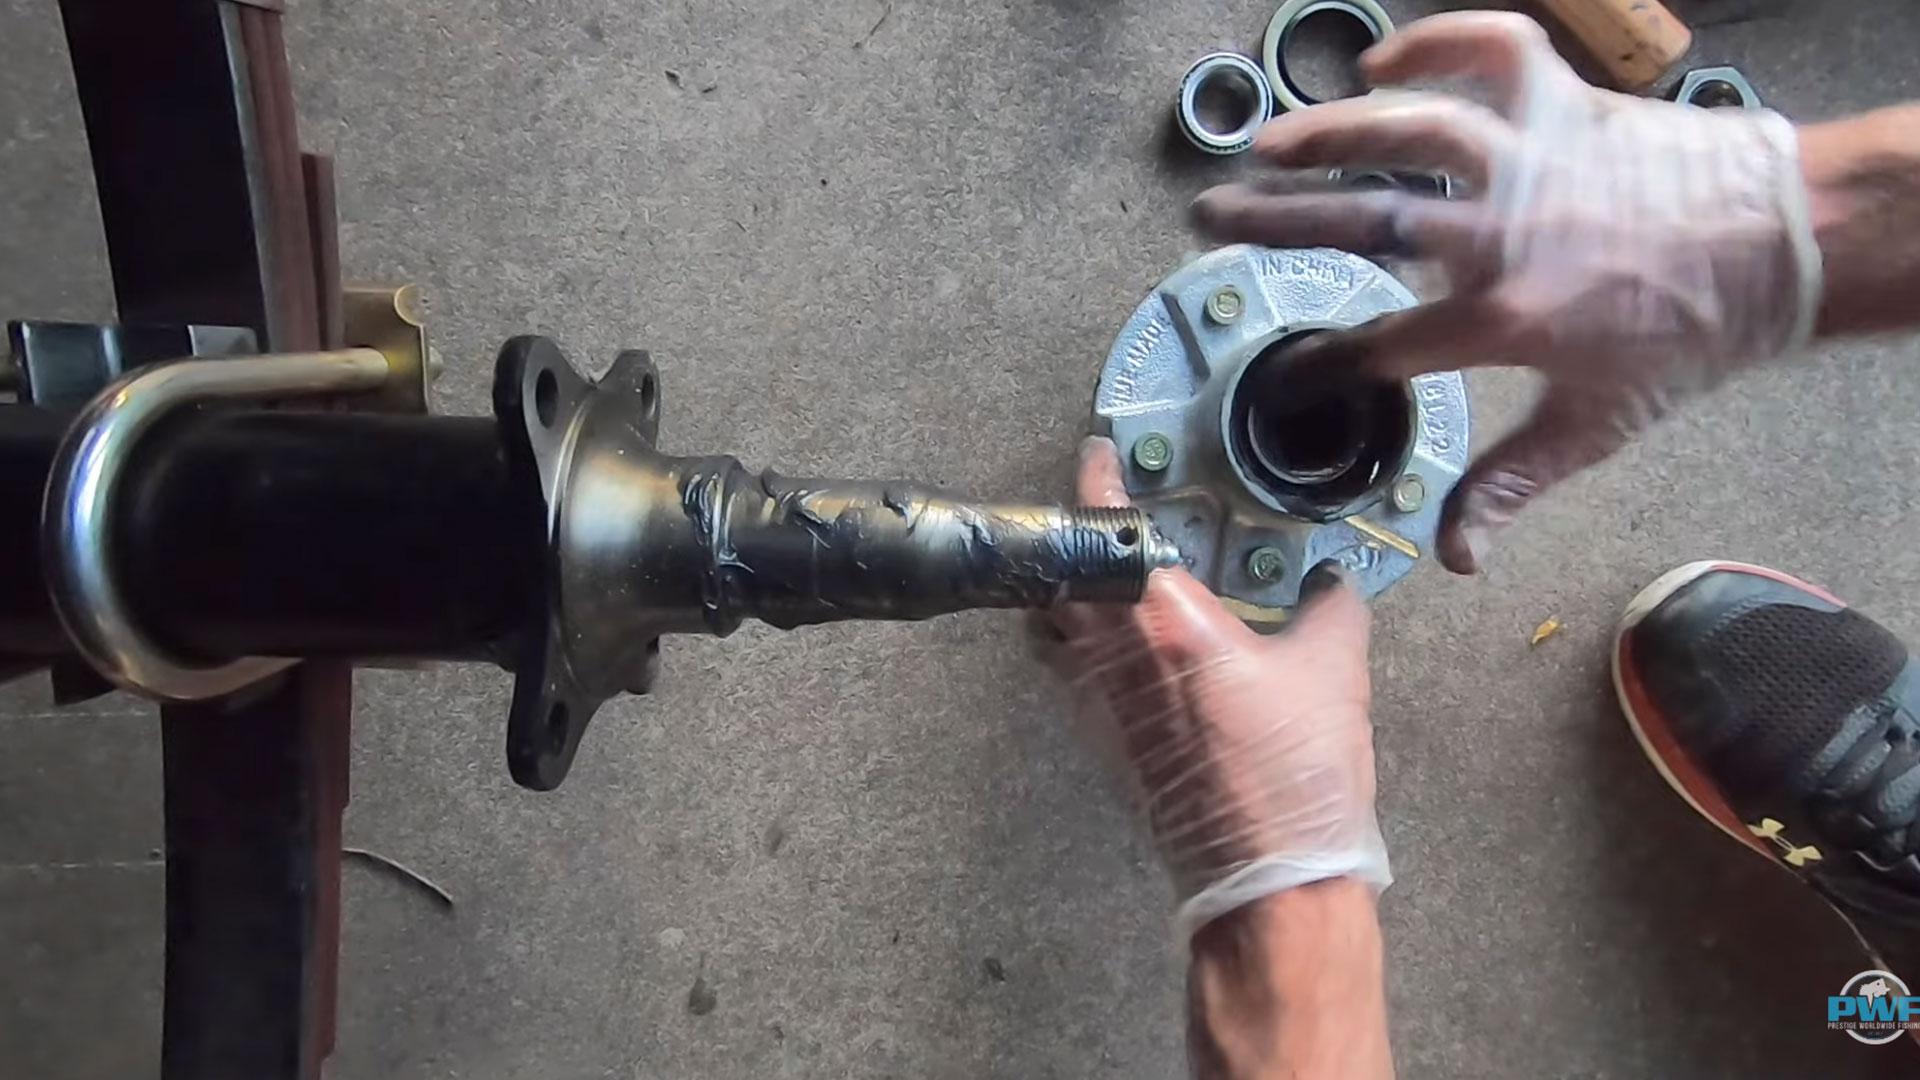
Step 5: Slide the Hub On
Use your thumbs to hold both bearings in place as you slide the hub onto the spindle. Push it back firmly and make sure it's seating straight. Once it's on, add the washer and thread on the castle nut.
Step 6: Set the Bearings, Then Back Off
This step trips people up. Tighten the castle nut down as hard as you can get it — this compresses the bearings and forces grease fully into the races and seal. Then back the nut off completely. From there, hand-tighten until snug, then tighten just enough to align a notch with the cotter pin hole. Insert the cotter pin and fold the ends back to lock it in place. Do not leave the nut fully torqued down — you need that slight play for the hub to spin freely.
Grease Fittings and Trailer Buddies
If your axle has a grease fitting (a zerk fitting through the center of the axle), you're in luck — you can pump fresh grease directly into the bearing assembly without pulling the hub. New grease enters from the back, pushes through the bearings, and forces old grease out the front. It's a big time-saver for routine maintenance.
If your axle doesn't have a fitting, look into Trailer Buddies — a cap with a grease fitting on the front face. They hold grease against the outer bearing and keep contaminants out. Not quite as thorough as a through-axle fitting, but they work well and are an easy upgrade.
Either way, before tapping the dust cap back on, shoot a few pumps of grease in first so the cavity is packed. Then seat the cap with a rubber mallet.
How Often Should You Do This?
Inspect every spring. Full repacking when you're replacing parts or if you notice any wobble, roughness, or the hub getting hot after a run down the highway. It's a cheap job that takes under an hour — far cheaper than a new axle, a roadside breakdown, or losing a wheel at highway speed on the way to a tournament.
.jpg)