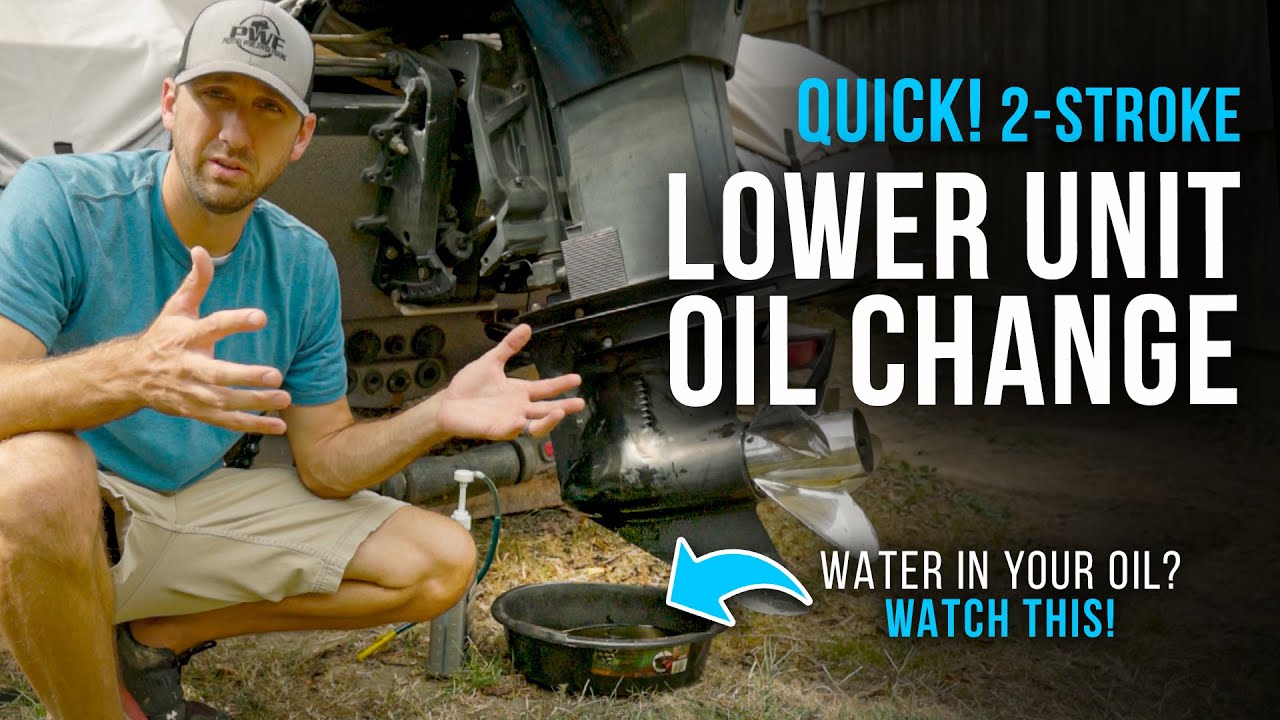
Changing your lower unit oil once a year is one of the easiest ways to protect your outboard. Brandon walks through the full process — draining, checking for water contamination, and refilling — with tips on diagnosing bad seals before they become a real problem.
If you want to keep your outboard running for years, one of the most important — and most overlooked — pieces of maintenance is changing the oil in your lower unit. Brandon walks through the full process on a 1990s Mercury 175, including how to spot water contamination and what to do about it.
Where to Find the Drain and Vent
On older Mercury outboards like this 175, the drain screw and vent are located on the side of the lower unit. If you're on a four-stroke or a newer motor, the drain and vent are typically located behind the prop — same process, just a different location. Remove the prop to access them.
Before you do anything else, tilt your motor up slightly so the oil flows down toward the drain screw at the bottom of the lower unit head. This makes draining faster and more complete.
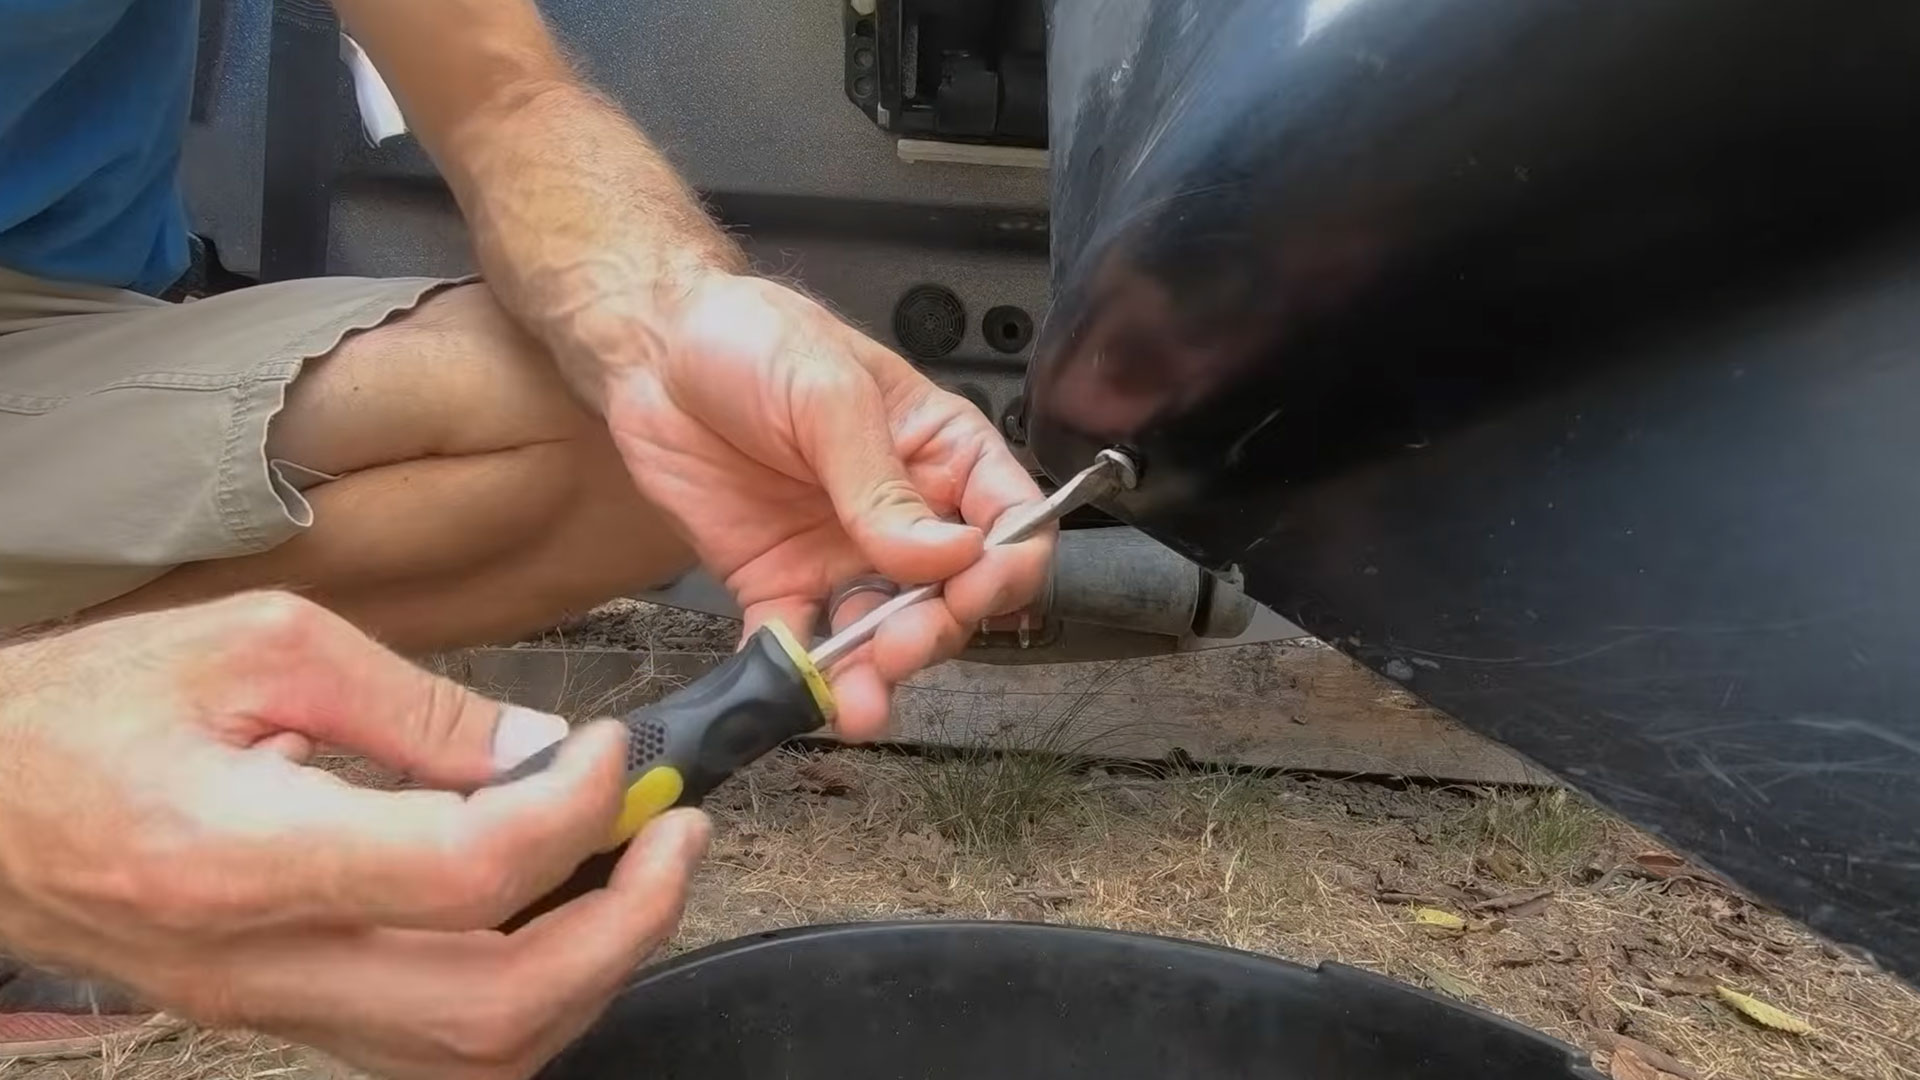
Draining the Old Oil
Use a flathead screwdriver to remove the drain screw. You'll notice it drains slowly at first — that's normal. To speed things up, open the vent screw (the upper one) as well and set it somewhere safe. Once that vent is open, the oil will flow out quickly. Let it drain until it's down to a slow, steady drip.
While you're draining, take a look at the drain screw itself. You'll often see fine metallic fibers clinging to it — that's by design. The screw is magnetic, which means it catches metal particles that wear off internal components over time. Finding a few fibers is completely normal. That's one of the main reasons you're doing this maintenance in the first place: getting those particles out before they do damage.
Checking for Water Contamination
As the oil drains, look closely at its color and consistency. Healthy lower unit oil is typically dark brown or black. If you see anything milky, creamy, or gray — that's water in your oil. Don't panic, but don't ignore it either.
Water gets into lower unit oil in two main ways. First, the seals on the drive shaft or prop shaft can crack or wear out, allowing water to seep in. Second — and this is more common — fishing line wrapped around the prop can cut directly into the prop shaft seal. That's why it's worth pulling the prop every time you do this job and inspecting the seal and shaft for line damage.
If the seal is compromised, you'll need to replace it before refilling. The good news is it's a straightforward fix on most motors, and the seals themselves are inexpensive.

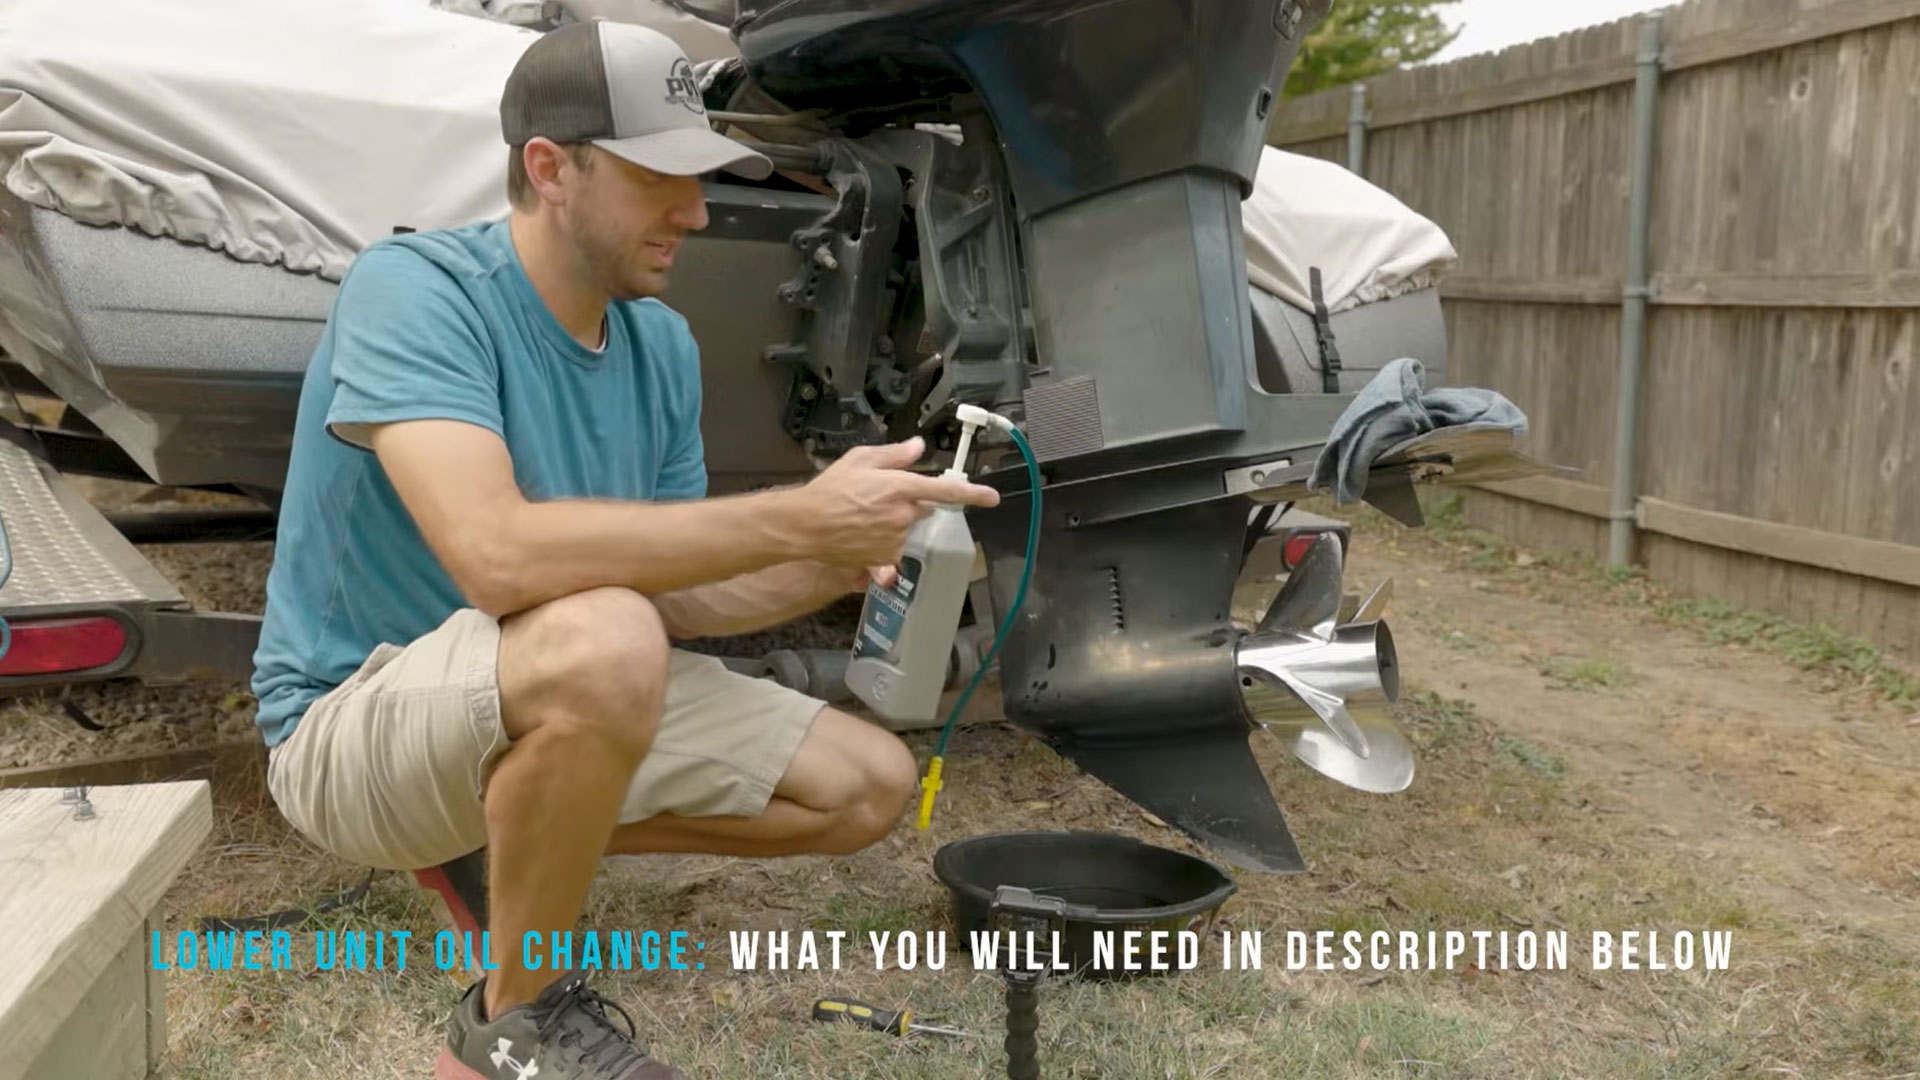
Refilling with Fresh Gear Lube
Pick up a quart of marine gear lube oil — make sure it's rated for lower units, not just any motor oil. You'll also need an inexpensive pump kit designed for this job. The pump screws directly into the drain hole at the bottom, and you pump the oil upward to fill the unit from the bottom up.
Pump until oil starts coming out of the vent hole up top — that's your signal the lower unit is full. At that point, quickly thread the vent screw back in to stop the flow, then remove the pump and replace the drain screw. Tighten both firmly by hand. Clean up any spill and dispose of the old oil properly — most auto parts stores will take it.
How Often Should You Do This?
At minimum, once a year. Brandon's preference is to do it in the fall before putting the boat away for the off-season. The reason is simple: if there's any water in the lower unit oil from a worn seal or wrapped fishing line, you want to find out and fix it before that water freezes over winter and cracks something expensive. Cold season is the worst time to discover a problem — and the easiest time to prevent one.
It's a 20-minute job, the supplies cost next to nothing, and it can save you thousands in lower unit repairs down the road. Do it every fall and you'll never have to think twice about it.